

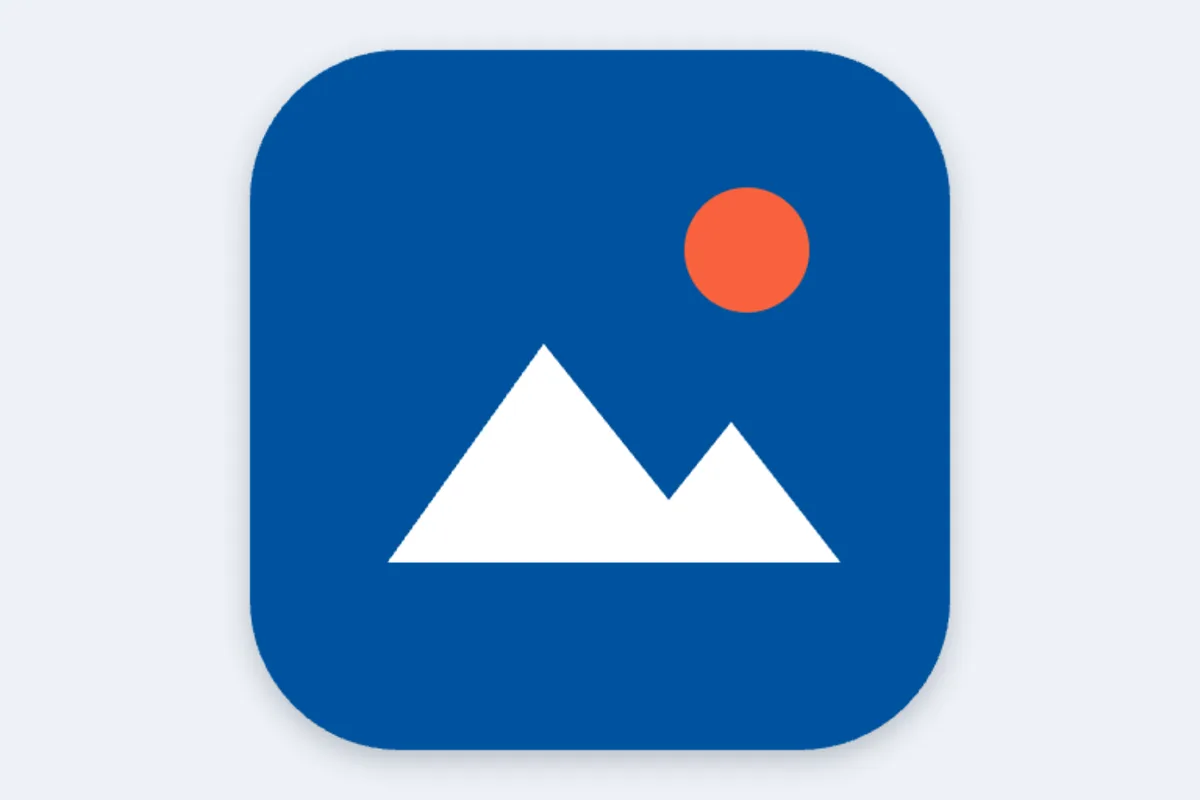
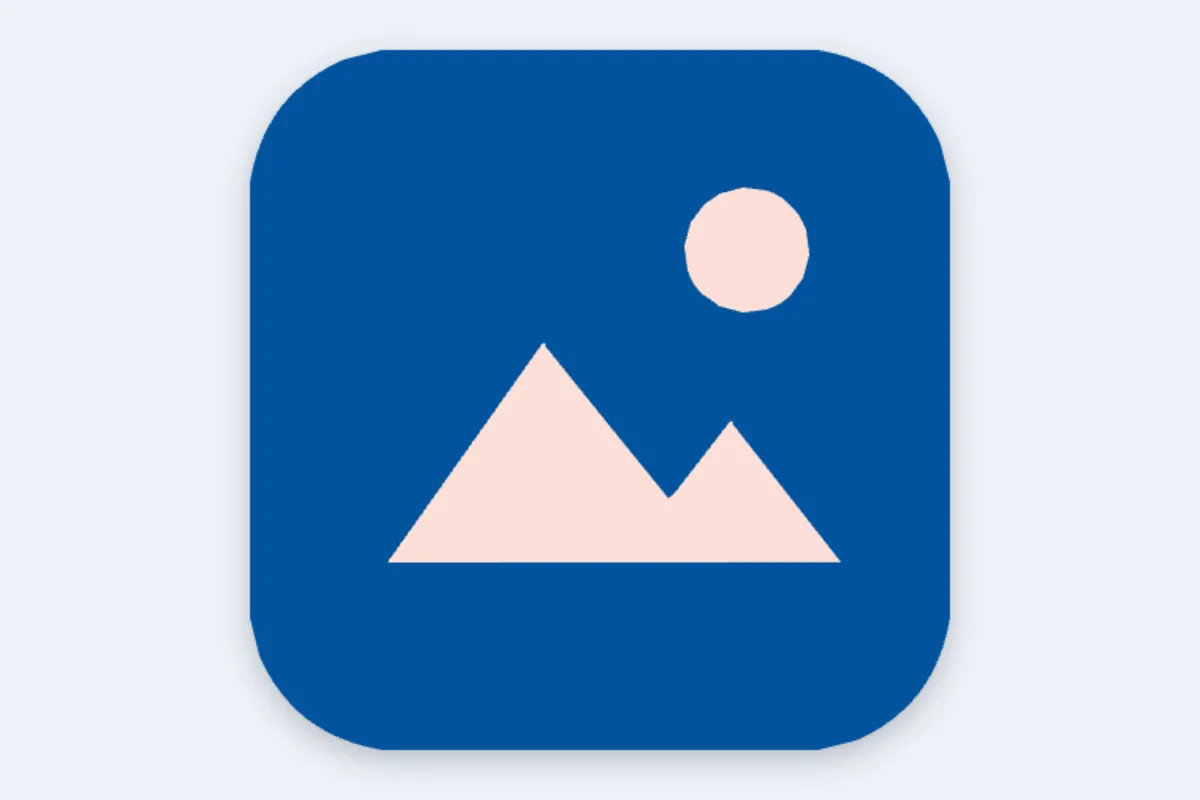
Vectorizing traces the shapes in a bitmap and rebuilds them as paths, so the result scales to any size without blur. It works best on logos, icons and flat illustrations with a few solid colours. Photographs will trace, but the result is a posterised look, not a faithful copy.
What is PNG to SVG?
Our png to svg converter traces a PNG logo, icon or flat illustration and rebuilds it as scalable vector paths, so it stays sharp at any size. This is called vectorising. The result opens in Illustrator, Figma, Inkscape and cutting-machine software, and can be resized from a business card to a billboard without blur.
When you convert PNG to SVG here, you choose how many colours to keep and how much detail to trace, then download the SVG. Tracing runs in your browser, works on batches and keeps your artwork on your device. It works best on clean graphics with a few solid colours, not on photographs.
How to convert PNG to SVG
- Drop a PNG (or JPG) logo or icon.
- Pick how many colours to keep (fewer colours means cleaner paths).
- Download the SVG and open it in Illustrator, Figma or Inkscape.
How PNG to SVG works
A PNG stores colour pixel by pixel, so enlarging it just enlarges the pixels. An SVG stores shapes as paths: lists of points joined by straight lines and curves that can be redrawn at any size. Converting from one to the other means working out where the shapes are.
The tracer starts by reducing the image to the number of colours you choose, a step called colour quantisation. It then finds the outline of every region of each colour, and fits straight lines and smooth curves to those outlines within a tolerance set by the Detail option. Tiny specks below a size threshold are dropped so the file stays clean.
Low detail smooths edges and removes more specks, giving lighter, simpler paths. High detail follows edges closely and keeps small features. The tracing library loads into your browser on first use, and everything runs on your device.
Key features of PNG to SVG
Free vector tracing
Vectorise PNG logos and icons at no cost, with no watermark on the SVG. Batch mode traces several files in a row, with a ZIP download at the end.
Colour and detail control
Pick between 2 and 32 colours and choose Low, Normal or High detail. Fewer colours give cleaner, smaller paths, while more colours and higher detail capture gradients and fine features.
Traces in seconds
Your artwork is never sent to a server and never waits in a queue. A typical logo traces in a second or two once the tracing library has loaded, depending on image size and the detail level you pick.
Runs in any modern browser
Use it in Chrome, Edge, Firefox or Safari on Windows, macOS, Linux, Android, iPhone and iPad. No design software is needed to create the SVG, only to edit it later.
Accessible controls
The colour slider responds to arrow keys, the detail menu and buttons work with Tab and Enter, and screen readers hear labels and progress updates. Dark mode and zoom are supported too.
Logos stay confidential
Brand marks and client artwork are traced inside your browser and never sent to a server, so there is no third-party copy of work you may be under NDA for.
What makes EZ Compress's PNG to SVG different
Real paths, not embedded pixels
Some converters wrap the PNG inside an SVG file and call it done, which still blurs when enlarged. This tool traces genuine vector paths that scale cleanly to any size.
Tunable output
Colour count and detail level let you trade fidelity against simplicity, which matters when you need clean shapes for a vinyl cutter rather than a faithful copy of every pixel.
Honest about photos
Tracing is designed for flat artwork. We tell you a photo will come out as a posterised illustration with a large file, rather than promising a perfect vector copy. That saves you wasted time.
Why use PNG to SVG?
Vectorise a PNG when you need a logo larger than the file allows: for signs, vehicle wraps, screen printing or a large banner. Printers and sign makers often ask for vector artwork, and tracing gives you a scalable starting point in seconds.
Cutting machines and laser engravers work from paths, not pixels, so converting PNG to SVG is also the first step for vinyl decals, stencils and engraved designs. Use this PNG to vector converter, then tidy the paths in a vector editor if needed.
Who can use PNG to SVG?
Cricut and Silhouette crafters
Turn PNG clip art and simple designs into SVG cut files with clean paths for vinyl, paper and iron-on projects.
Small businesses
Recreate a lost vector logo from the PNG on your website so the printer can produce signs, banners and merchandise at large sizes.
Laser engravers
Convert simple black and white artwork into paths your engraving software can follow precisely, using two colours for crisp outlines.
Graphic designers
Get a fast first trace of a client's raster logo, then refine the paths in Illustrator or Inkscape instead of redrawing from scratch.
Web developers
Turn small PNG icons into SVG so they scale cleanly on high-density screens and can be recoloured with CSS. Files are often only a few KB.
Settings explained
| Setting | What it does |
|---|---|
| Number of colours | Number of colours in the palette. Fewer colours means a smaller file; 256 is visually lossless for screenshots and graphics. |
| Detail | How closely paths follow the pixels. Low gives smoother, simpler shapes. |